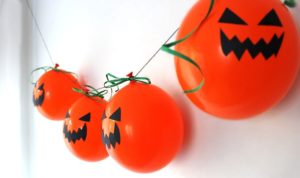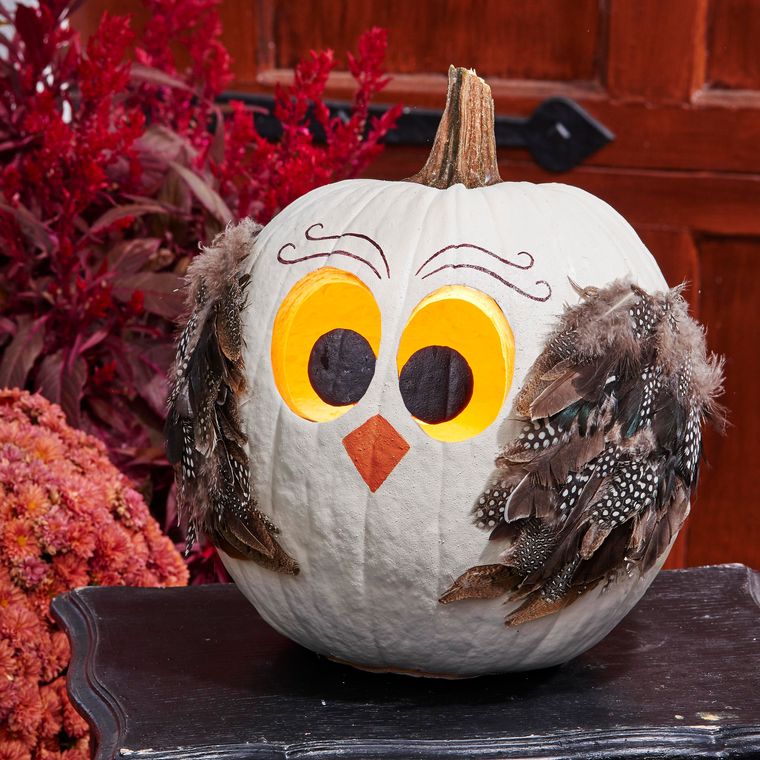
Decorated and painted pumpkins are undoubtedly the star of the fall season. Pumpkins decorated, painted, or in their natural state are used to create incredible decorations. Decorations both to celebrate the arrival of beautiful autumn, as well as to celebrate Halloween and even Thanksgiving.
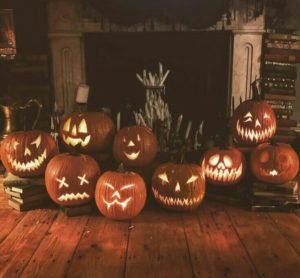
We will show you some of the countless decorated and painted pumpkin ideas for inspiration. Of course, carved pumpkins were the trend in festive fall decorations for many years. Although it continues to be done, some people prefer to decorate the pumpkins with paints and add other elements such as flowers, tacks, ribbons, among much more.
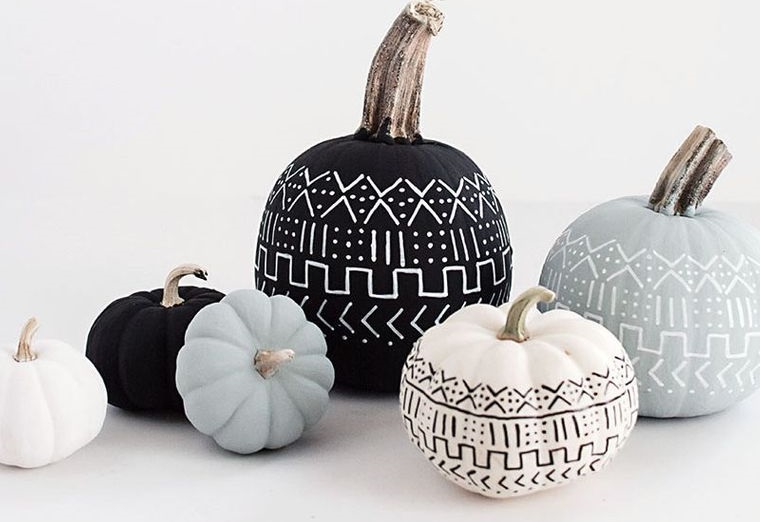
Decorated and painted pumpkins completely change the decoration of your home. It’s a great and fun activity for the whole family to get involved in. It’s also great for each member to show off or discover their creative abilities. It is worth mentioning that pumpkins decorated with paint last a little longer compared to carved pumpkins.
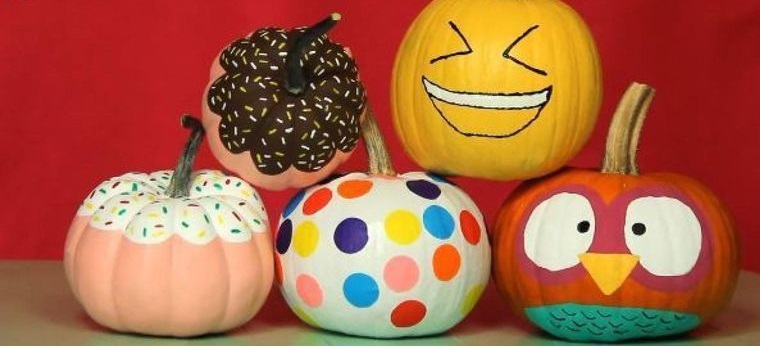
Ideas of decorated and painted pumpkins
Certainly, these are some ideas to inspire you. But you actually have an infinite arsenal for your decorated pumpkins, you just need to let your imagination run wild. There are many designs, keep in mind that decorated and painted pumpkins are not only for Halloween decoration.
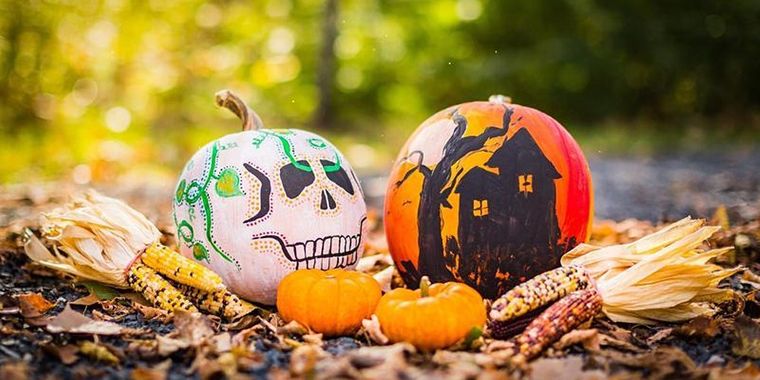
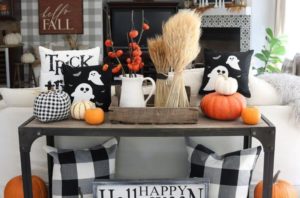
You can also use them perfectly to decorate your dining table, living room, and kitchen for Thanksgiving. There are even people who welcome the month of December with pumpkins decorated with Christmas motifs.
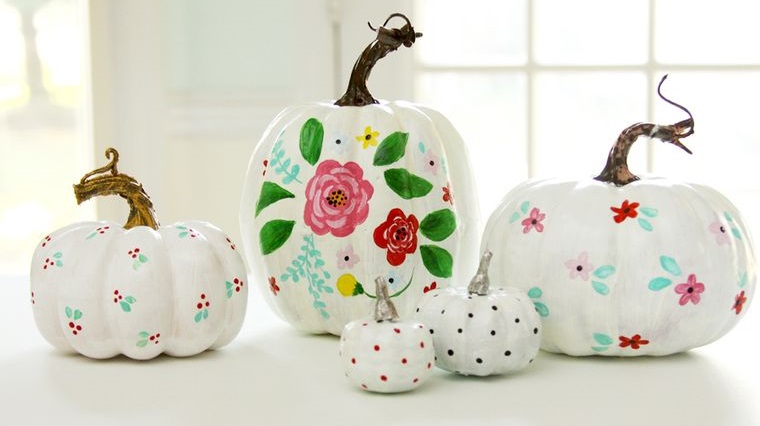
So don’t limit yourself, you can also create decorated or painted pumpkins that can fit any occasion, both for Halloween and Thanksgiving, with neutral colors. You can paint terrifying, funny faces or landscapes.
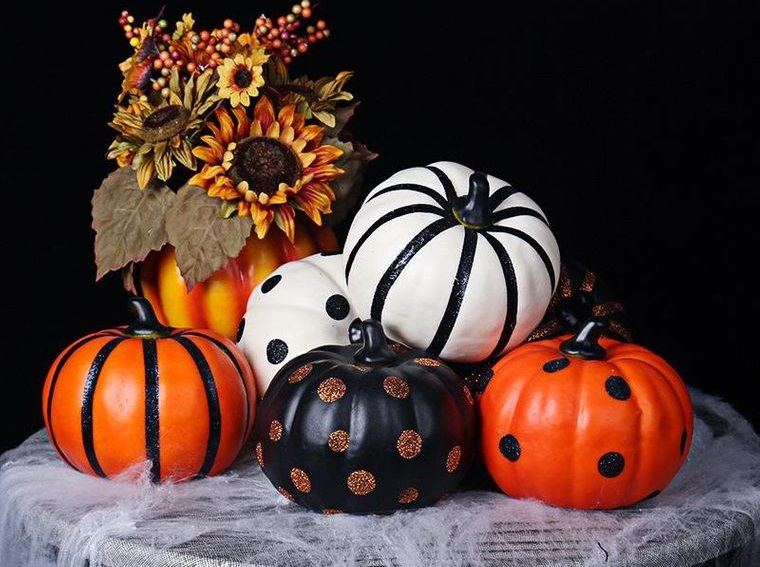
You can use everything from acrylic and spray paints to paper cutouts, artificial flowers, glitter, and much more. But don’t worry if you have trouble getting started, here we will help you with some easy directions and enjoy the decorated pumpkins activity with your family.
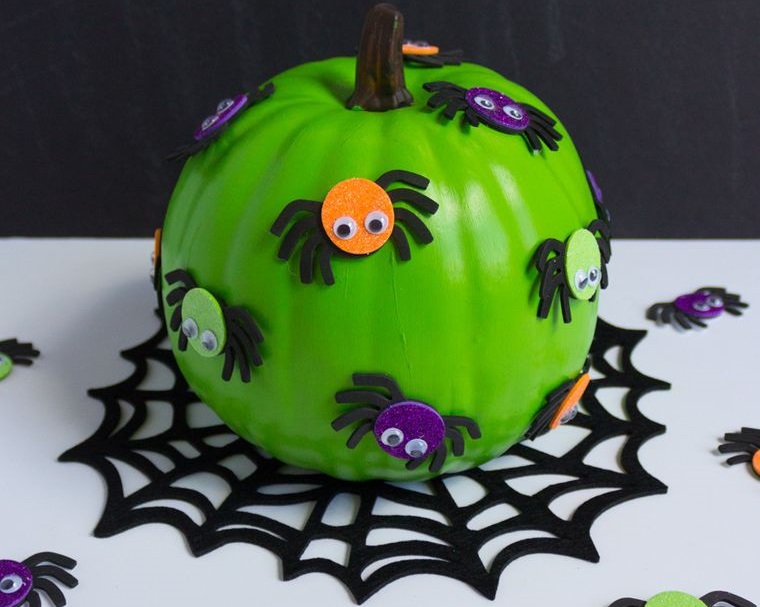
Try to have more than one design and different sizes of pumpkins for your home décor. Although most people prefer to work with medium-sized pumpkins, there is a lot you can do with so-called mini pumpkins as well.
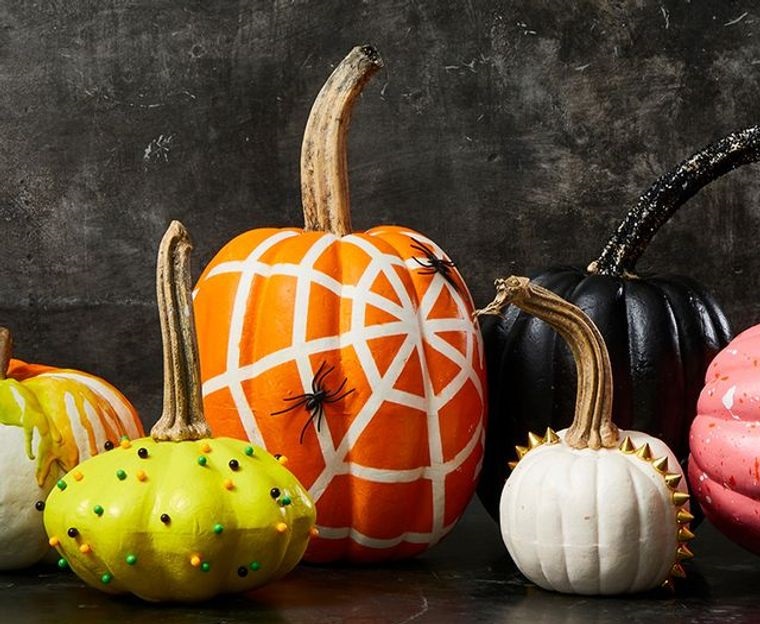
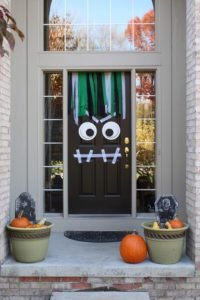
So try to incorporate different sizes and shapes for your décor. With the decorated pumpkins you can make laugh or scare both children and adults in your neighborhood. But you can still make them see and appreciate your pumpkin designs and decorations.
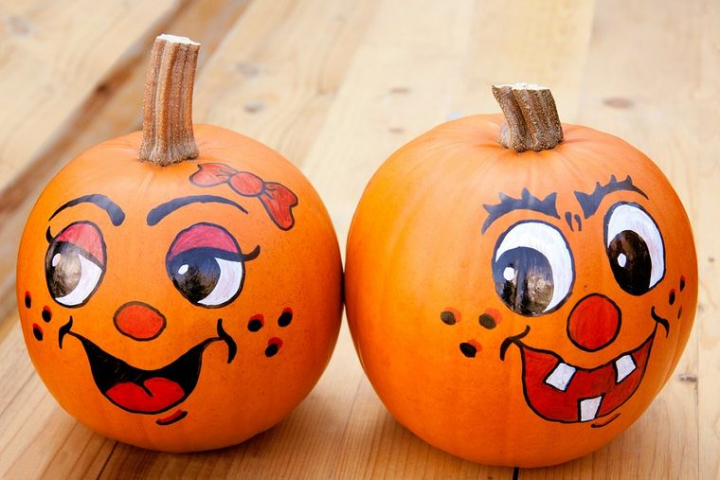
Pumpkins decorated with tissue paper
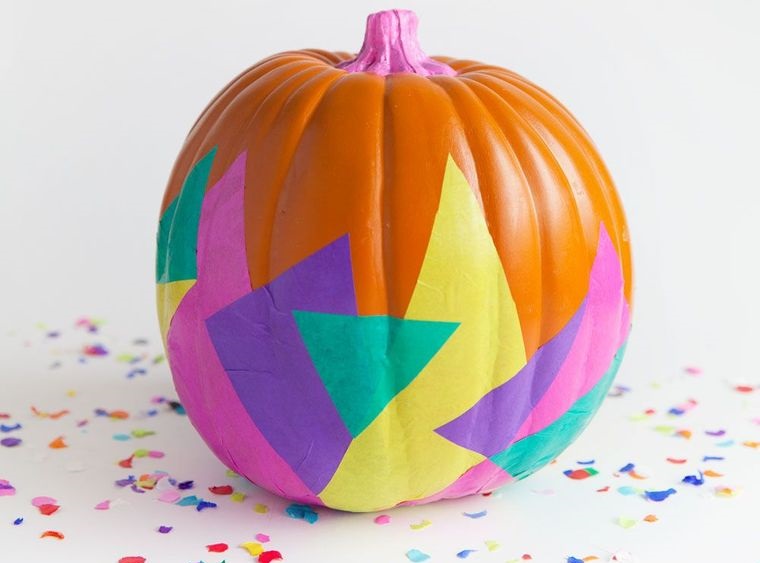
Add a twist to your tissue paper-painted pumpkin. To do this project just take tissue paper and fold it over on itself a few times. Then cover your pumpkin with glue and place the tissue paper squares all over the pumpkins. If you prefer, you can make different shapes with tissue paper, not just squares.
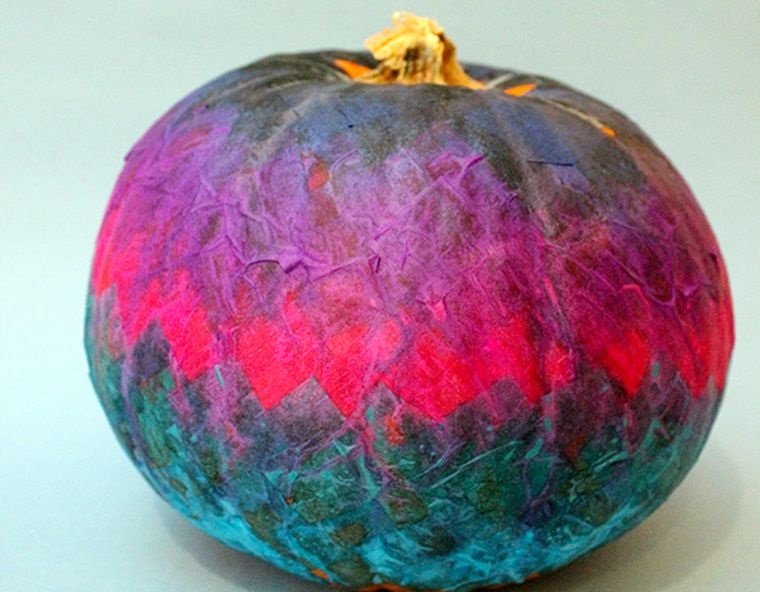
Once you have your pumpkin covered on all sides with the tissue paper, with the help of a craft brush, paint a layer of Mod Podge, let it dry and apply a second coat if you think it is necessary. You can use multiple colors of both tissue paper and paint if you wish.
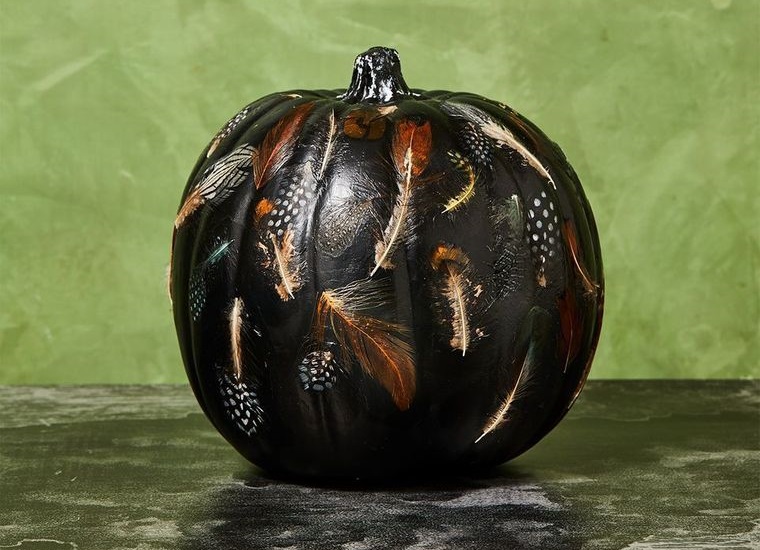
Pumpkin decorated and painted with feathers
You will first need to paint your pumpkin with black paint and wait for it to dry completely. Now take some fake feathers and glue them to the pumpkin with Mod Podge. Then use a brush with a little Mod Podge to smooth the feathers on top and let it dry completely before using it for your decoration.
Pumpkins decorated with small bows
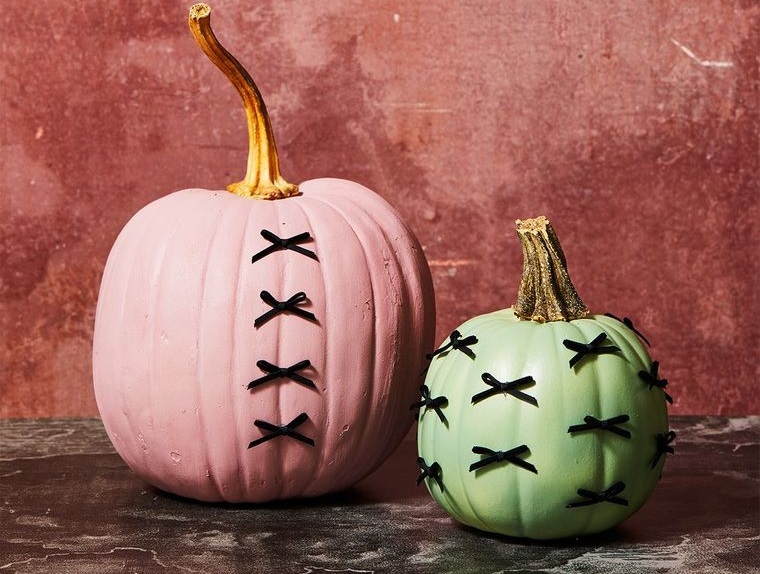
On your painted pumpkin you just have to add some small black bows to give your pumpkin a unique and distinguished touch. This is an extremely easy project. Paint your pumpkin the color you want. Acquire a ribbon color that can perfectly match the color of your pumpkin or that stands out in it. Cut equal lengths and tie them in bows. In the same way, you can place pre-made ties if you wish. Secure them with a small dot of glue and you’re done.
Marbled Pumpkins
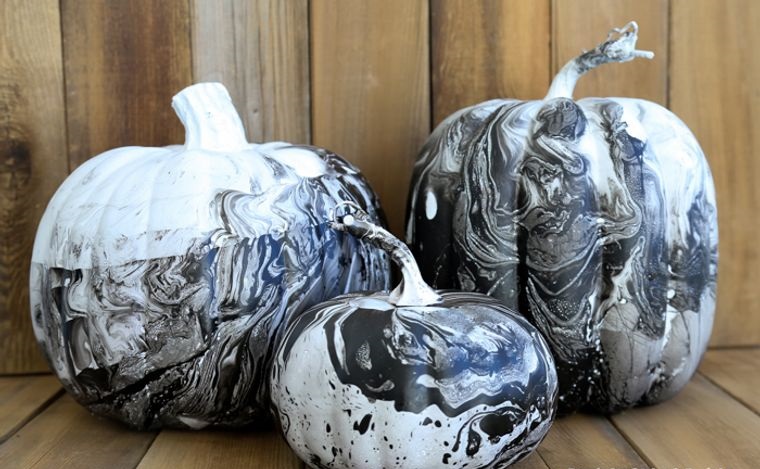
This is a beautiful project and there is no denying that it looks very original. Well, fill a plastic container with warm water, preferably a container that you don’t mind staining. Now go pouring one by one the different colors of nail polish that you want to use in the water. This tries to do it as close to the water as possible so that the polish floats.
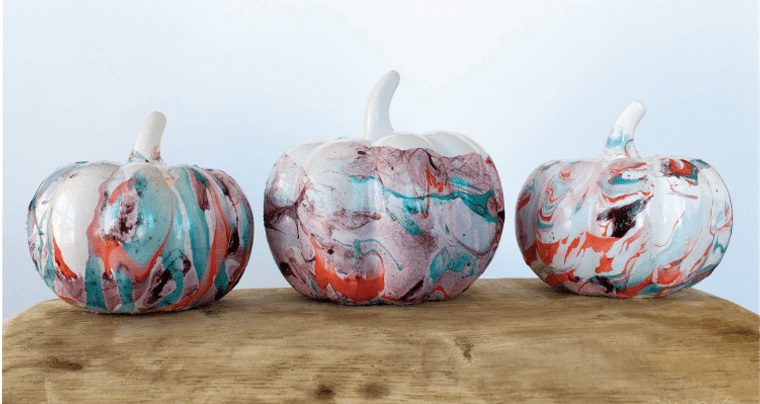
Take a skewer stick and mix the colors together to create a marbled look. Now dip the part of the pumpkin that you want to paint in the water and enamel mixture. Scoop out the pumpkin and let the leftover nail polish drip off and set it somewhere to dry completely. Now just repeat the process with as many pumpkins as you want.
Pumpkin painted and decorated with Spa motif
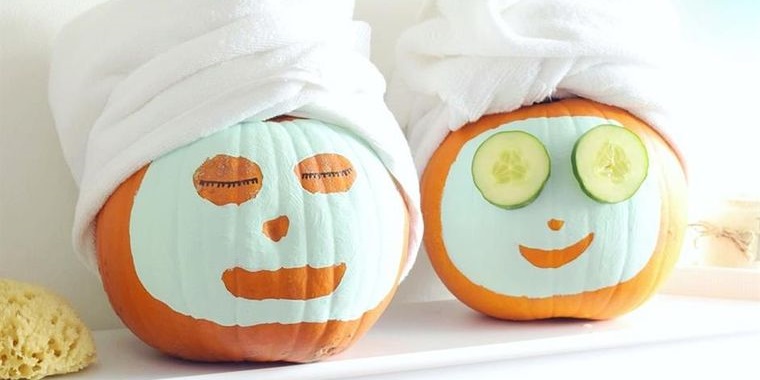
Remember that Halloween, in addition to having terrifying scenes or people, is also an excellent time for the imagination. So why not recreate something as simple and every day as relaxing in a spa? Here you only have to paint a mask in green, leaving of course the spaces of the nose and mouth.
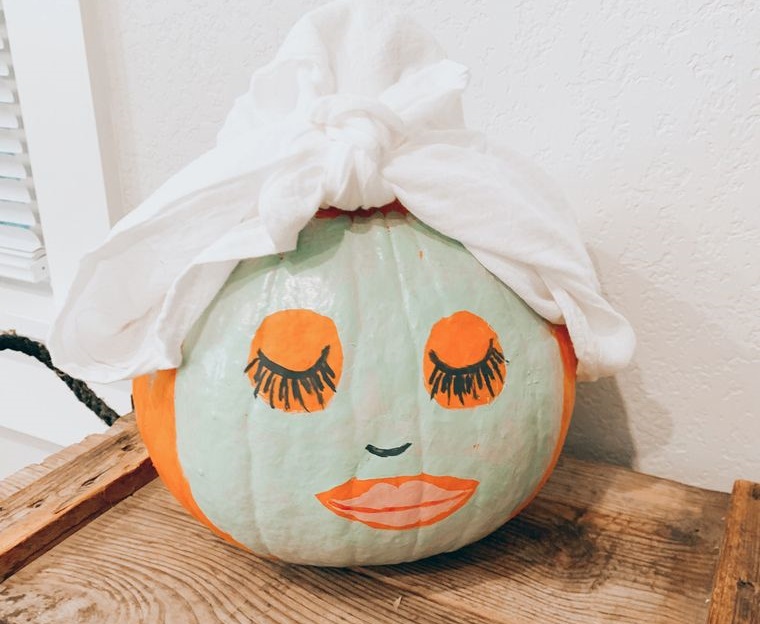
In the part of the eyes, you can also leave the space and then paint small eyes with eyelashes. Or just paint that part and put fake or real cucumber slices on it. To complete your decorated pumpkin you can place a shower cap on the pumpkin and fix it with pins or a towel.
Pumpkins decorated with balloons
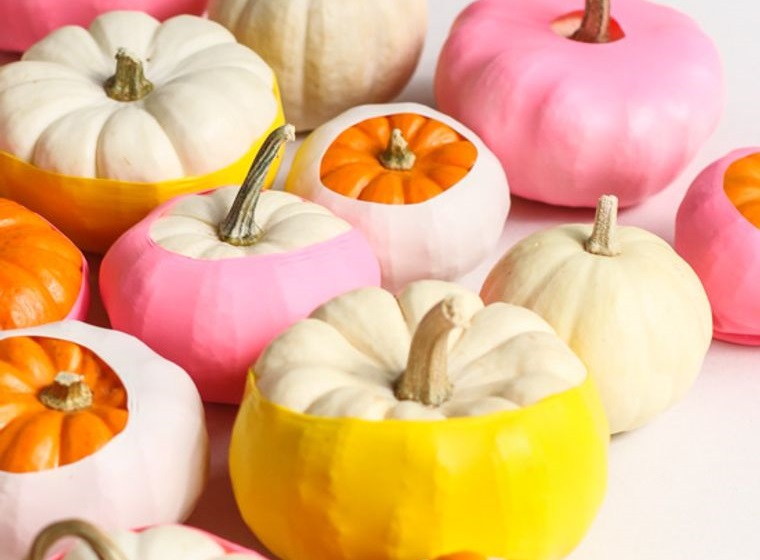
This is a very clever and creative way to add color to your pumpkins without having to paint them. You can take your pumpkin and paint it with a base color like white or gold. Then you take the balloons and cut the ends of the balloons and stretch them around the base of your pumpkin. You can also only leave your pumpkin as it is, that is, its original color, and just place the balloon at the bottom to combine the orange with any other color.
Pumpkins decorated with crayon drip
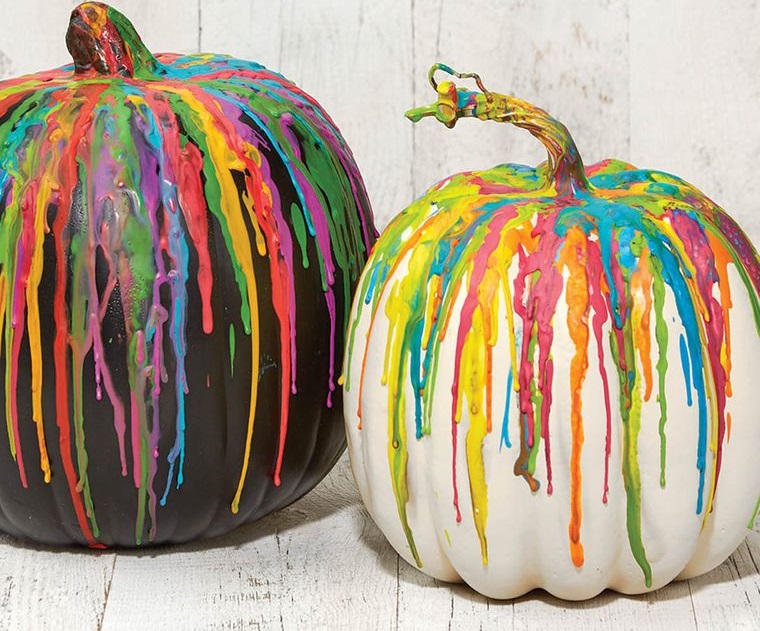
This project does not require paint, but you will need to search for used crayons. Well, start by removing the paper wrapper from the crayon and then ripping it into small pieces. Placing one crayon at a time near the stem of the pumpkin, melt it with the help of a hairdryer on slow intensity. You will need to move the pumpkin as the crayon begins to melt to control the drops. Now put another crayon and repeat the process and let it dry completely.
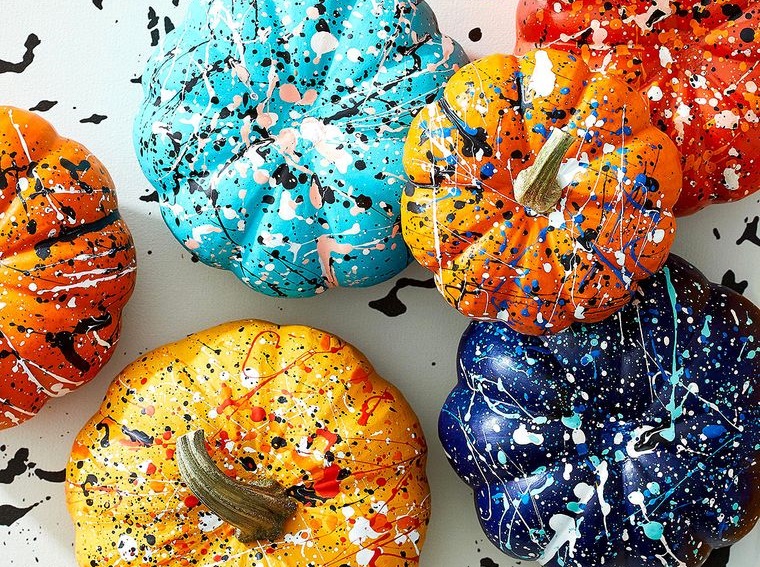
Pumpkins decorated with paint splashes
You should first paint your pumpkins in a solid color and let them dry completely. Next, mix water with acrylic paint until it has the consistency of heavy cream. Cover a craft brush or toothbrush with paint. Now tap or shake it gently several times over the entire surface of the pumpkin to create the paint splatters. Very easy!
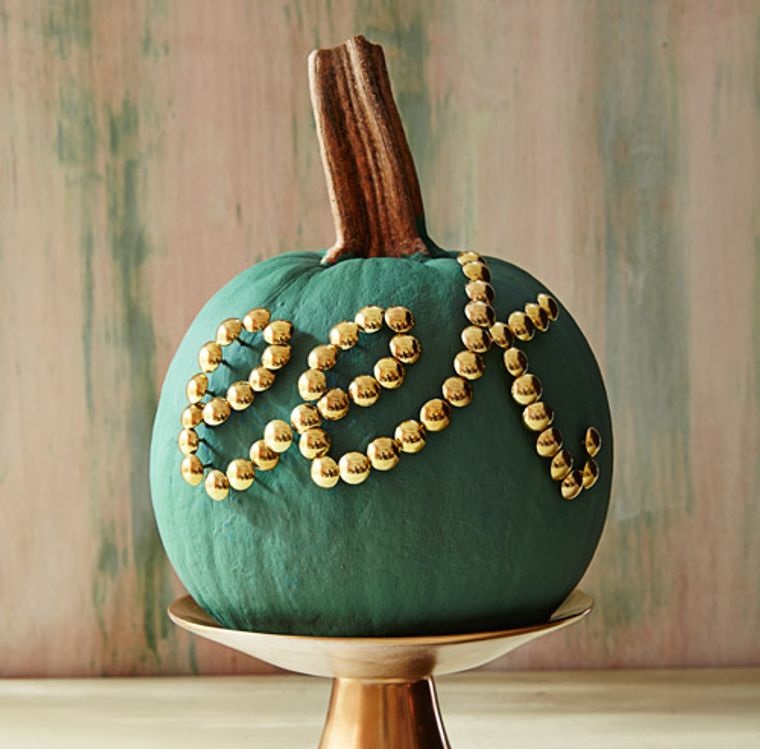
Pumpkins decorated with studs
This project is also extremely simple. You should only paint your pumpkin a solid color. Then, you just have to put map tacks with the design you want. You can monogram or simply distribute the studs to give your pumpkin more texture.
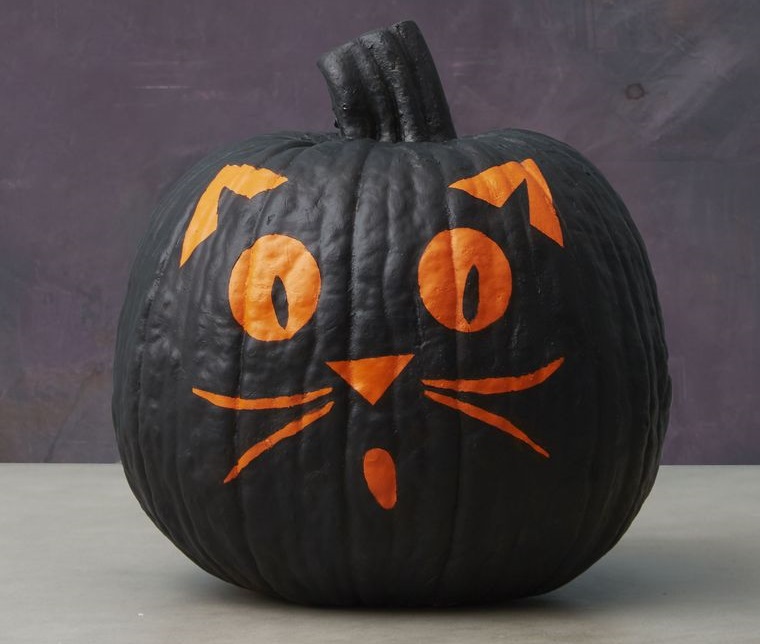
Black cat pumpkin
Start by making the feline features on the blue painter’s tape and attaching them to the orange pumpkin. Make sure to glue the tape on before painting the pumpkin with the black acrylic paint. Once your pumpkin is painted black and it has completely dried, remove the painter’s tape and you’re done.
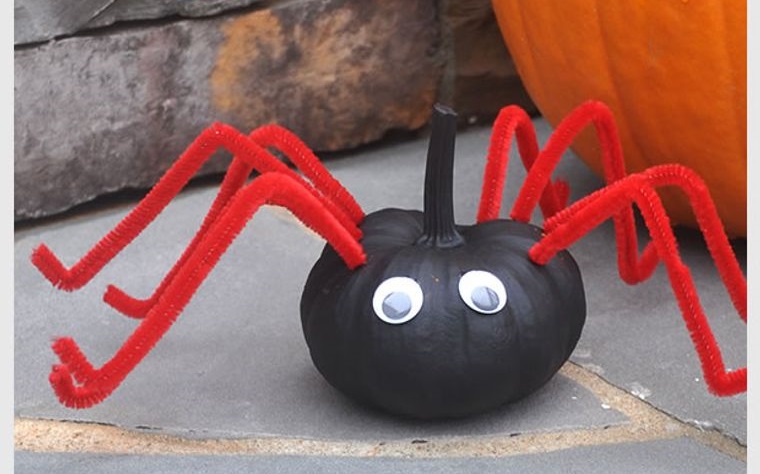
The mini pumpkin turned into a spider
You will want to make more than one mini spider for a spooky display. You just have to remove the stem of the mini pumpkin and paint it all with shiny black paint and let it dry completely. Cut craft or floral wire into eight equal-length pieces. Now insert four wires on each side of the pumpkin. Bend each wire twice to make the spider’s legs. With the help of craft glue, place the eyes on the top of the pumpkin and you’re done.
Pumpkins decorated with pompoms
There is nothing more fun than soft little colored balls. After painting your pumpkin, decorate it with small colored pompoms. Without a doubt, it is a very colorful and tender pumpkin decoration that will attract a lot of attention.
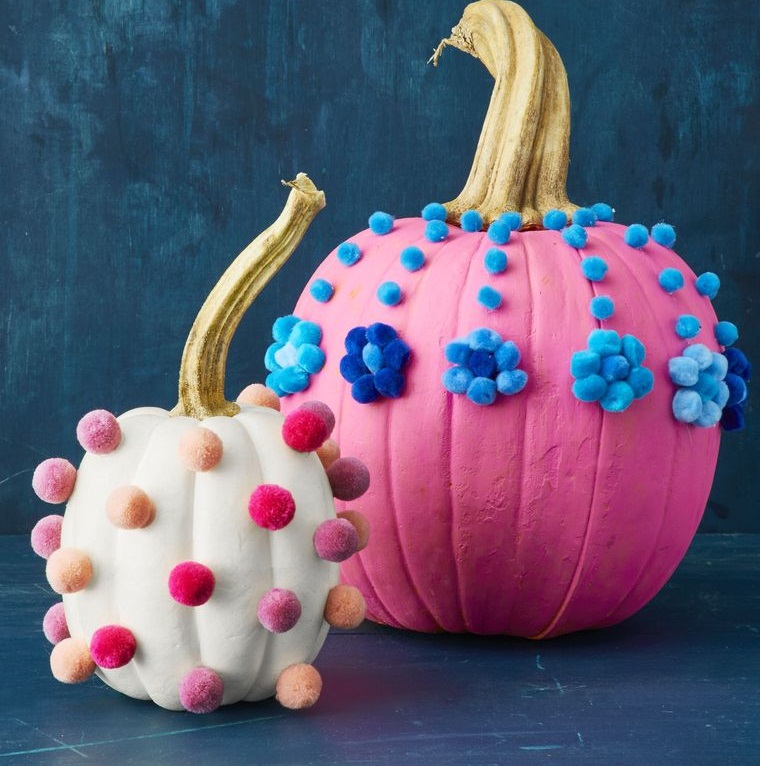
Slate pumpkin
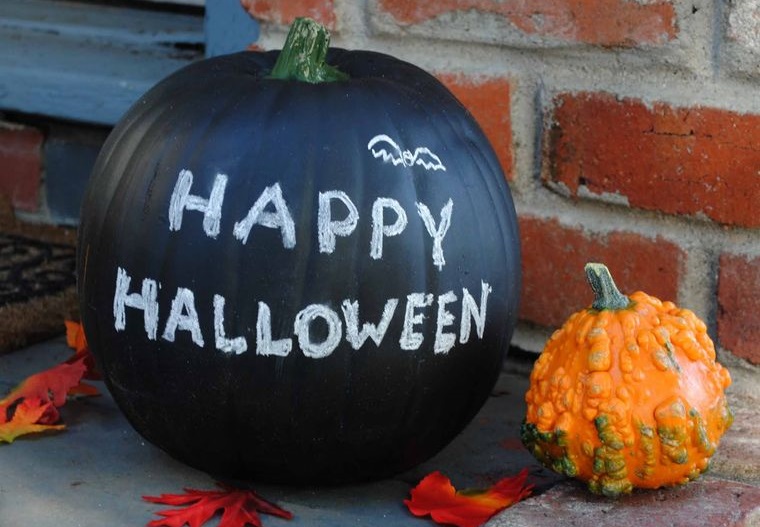
With this project, you will be able to display messages on your pumpkins. You will only need some chalkboard spray paint and a white chalk marker. Paint your pumpkin and write what you want.
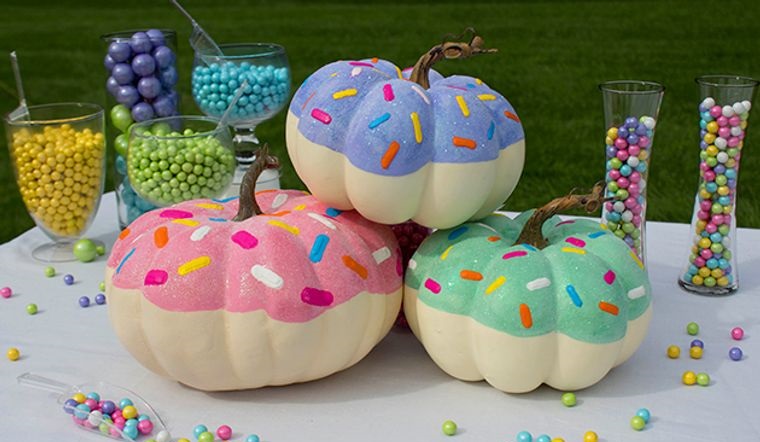
Pumpkin donuts
For your pumpkin donuts you must first paint the lower half with the color you have chosen for your donuts and let it dry completely. Then turn it over and paint a small circle around the stem and also the stem itself and again let it dry. Now you can paint the glaze, and once dry, paint the sprinkles with a small brush.
