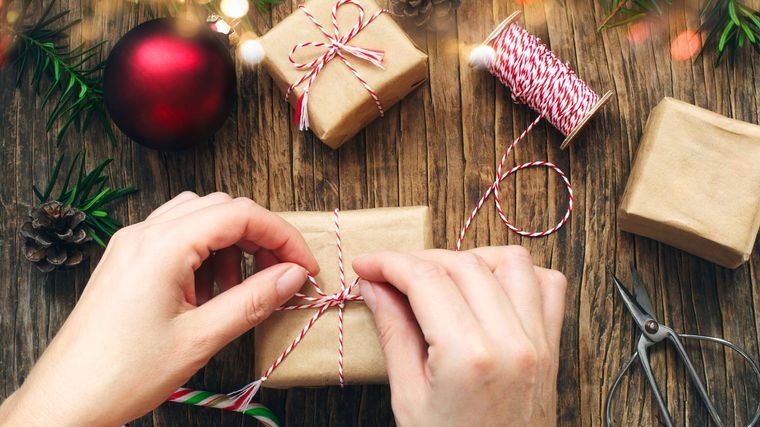
We could ensure that the details or gifts, no matter how small they are, convey a lot. These small gifts are much more symbolic when we receive Christmas details and even better when they are made by the person. There are plenty of DIY Christmas gift ideas or details that you can make for Christmas gifts.
DIY is undoubtedly a lot of fun and lets you unleash your creativity. In the same way, each project that you do and can give as a detail of good wishes, is always well received by everyone. Do not doubt that your family and friends will be very moved to receive the Christmas gifts that you give them made with your own hands.

Remember that it does not matter if it is something big or small. Just getting some holiday details made by you will mean a lot to the recipient. Gifts with Christmas details besides being meaningful are also very easy to do.

Certainly, we can all go to a store to buy scented candles or beautiful votives. But nothing beats the simple fact of taking inspiration from some ideas and trying to do it yourself. So, take note of some of the DIY Christmas accent ideas and gift your loved ones some cheer with a little DIY gift.
DIY Christmas Details – Christmas Tea Trees

You will only need individually wrapped tea bags for this DIY project. The amount is depending on the size of the tree you are going to make. Make sure the tea wrappers are attractive. You will also need Styrofoam cones. Glue gun with glue sticks.
You will also need small paper-mâché boxes or some kind of short, round cylinder to use as the base of the tree and wooden stars or other star trinkets for adornment. The rice is optional, this will be used to give the base of the Christmas tea tree a little more support.

With the hot glue, adhere to the tea bags starting at the base of the cone. Squeeze it for a few seconds to set. Place the next row of teabags slightly overlapping the one you just glued to cover the cone. Try to do it by placing rows and not going with columns up.
Once you’ve covered the entire cone with the tea bags, secure the top of the paper-mâché box to the base of the cone with hot glue. To make the Christmas tea tree more stable, add a little rice to the box before gluing it to the cone. To finish you can place a wooden star trinket on top of the cone and it will be ready to admire and enjoy a delicious tea.
DIY Christmas Details – Pine Scented Candles

This pine-scented candle makes a wonderful gift for the holiday season. They’re easy to make, they smell amazingly good, and it’s a lovely touch. You will need Weck jars, soy wax shavings, green wax dye. Also pine-scented candle oil, candle wicks, small wooden sticks.

Scissors, a melting pot, and two heat-resistant bowls with pouring spouts. First, melt 10 cups of the soy wax chips in a large pot over medium heat. When the wax melts, add drops of pine-scented oil. Divide the melted wax into two heat-resistant bowls with pouring spouts.

Add drops of green dye to one of the bowls, you will need several drops to make it really green. Place the wick in the bottom of the candle jar. You can use a little glue to fix the wick exactly where you want it. Although you can also just wrap the top around a twig and place it on the edge of the glass. This will keep the wick upright while the wax cools. Now start with white wax, filling about a quarter of the jar.

Then put it in the refrigerator to speed up the drying time. Once the wax is solid again, pour the wax of another color on top and return it to the refrigerator. Repeat this process until you reach the top of the jar. Remove the stick and cut the wick. Put the lids on and wrap the candles to give to your family and friends.
DIY Christmas Details – Snow Globes

These DIY snowballs are a favorite project for most. This is the type of DIY that you can include with the help of the smallest of the house. You will need clean jars with a lid, distilled water, glycerin. Also animals, trees or various plastic figurines, glitter tinsel, Epoxy, and sandpaper.

With the sandpaper, scrape the bottom of the lid and then place the chosen figures with a little Epoxy. The epoxy will be your best defense against water over time. but be sure to use it according to the manufacturer’s instructions. Let the epoxy set completely and then fill the jar with distilled water.

Add the smallest drop of glycerin to the water. If you add too much, the water will become a bit thick and chunky. Add the glitter to the jar, placing as much as you want to make it look like snow. Now insert your figure and screw the cap on tightly and shake the jar well.
DIY Christmas Details – Terrarium with Winter Scene

You will need cylindrical glass vases, fake snow. Also bottle brush trees and florist moss. Start by adding the moss in the vases you chose to make a green base. Now place the figurines to create your scene and sprinkle fake snow everywhere. It is undoubtedly a very simple detail to give as a gift but at the same time striking.
DIY Christmas Details – Paper Poinsettias

Crepe paper is the perfect material to add some texture to the petals of this beautiful DIY Christmas flower. You can search for petal and leaf templates online and print them. Of course, you will also need crepe paper in various shades of pink, red, white, and green.
22 Gauge Cloth Covered Floral Wire, Glue Gun. Also a paintbrush, acrylic paints in various shades of red, pink, and green, flower stamens, floral tape. For the petals using the templates cut the petals and leaves. Use four petals of each size for a poinsettia, 16 petals in all.

Make sure to position the paper so that the petals and leaves are perpendiculars. Glue the two sides of the leaf and petal together, slightly overlapping the inner edges and gluing with a thin line of glue. If you want to add a little texture, just thin the acrylic paint slightly and splash the sheet.
Although you can also give them feather-shaped brushstrokes in the middle of the petal. For the center part of the poinsettia, cut small pieces of pink and red crepe paper about 1.5 by 2.5 centimeters. Now turn the piece of crepe paper in the center and mold over the flower stamen and turn.
Keep it secured with a dot of glue and repeat for the rest. Now group all your flowers together and secure them with floral tape. Choose a vase and fill it with the florist’s foam and arrange the leaves and poinsettia as desired.
DIY Christmas Details – Mason Jar Votive

You will need red and green chalky paint, painter’s tape, Christmas tree template that you can download online Scissors, paintbrush, Epsom salt, white bells, and baker’s twine. Take three pieces of painter’s tape and overlap them on a flat surface as there you will make the template of your tree for the votive.
Now place your tree stencil and cut out on the painter’s tape and place it in your jar. But make sure the edges are glued together before painting. Now paint the mason jars, one green, and one red. It is preferable that you apply two coats of paint. Chalk finish paint dries very quickly.
Of course, you can also use acrylic craft paint, but the finish will be a bit more streaked. Once dry, remove the painter’s tape. And you need to do touch-ups on the edges of the tree so that they are a little more outlined. Once everything is dry, add Epsom salt and tea candles.
DIY Christmas Details – Winter Wreath with Mini Houses

The materials you will need for this DIY project are construction paper, hot glue. Also fake snow fluff and bottle brush trees. The first thing you should do is assemble your crown. Now you just have to place the small houses, the fake snow, and the small trees as you wish. When you have the distribution then stick them and in less than five minutes you already have your beautiful crown to give away.
DIY Christmas Details – Wine Cork Vases

Actually, these simple vases can be made with glass containers of any shape and size you want. The materials that you will need as many crystal vases you want and a good amount of corks depending on how many you want to make.
For the vases you see in the image, approximately 40 or 70 wine corks were used. You will also need high-strength craft glue such as E6000 and a cork cutting knife, although it is optional. Try to use corks with similar lengths to make your project look its best.

Once you have similar corks start gluing them to one side of the vase applying a generous amount of glue but not too much. Before moving on to the next cork, make sure they stick well. Once you have covered the sides of the vase and the glue is very dry then move on to the sides or corners of the vase.

If you wish, you can also cut the corks so that they are more or less even. Once your DIY vase with wine corks is ready, proceed to place a nice flower arrangement and your Christmas detail will be ready to give to whoever you want.
DIY Christmas Details – Citrus Soaps

The citrus soaps really smell delicious and decorated with rustic twine, without a doubt, they make them nice and simple Christmas gifts to give away. You will need goat milk to melt and pour the base, silicone soap molds. Also citrus essential oil and dried citrus slices.

The first thing you should do is dry the citrus fruits that you are going to use such as lemons, limes, and/or oranges. Cut the citrus into thin slices, approximately three millimeters, of course, you must take into account the size of your mold and make sure they fit in it. Preheat your oven to 200ºC.

Place your citrus on a wire rack over a skillet and place in the oven until dry. How long they take depends on the thickness and width of the slices. Once ready, remove the dried citrus fruits and let them cool. Divide the soap base into chunks and place it in a microwave-safe container.

Microwave at 20-30 second intervals, stirring to make sure it’s smooth and melted. Now add a few drops of essential oils to the melted soap base and stir. Proceed to place the citrus in the molds before pouring in the soap.

Once the citrus fruits are placed in the mold, then pour the soap base over the citrus fruits in the mold. Remember that it should still be hot, so you must be careful. Now you only have to wait two or three hours for the soaps to dry and they will be ready to give as gifts. But first, tie them with a rustic string for a better presentation.


